
English
Ubuntu 20.04/22.04 server environment initialization: enable the root account and enable SSH remote access

Newly installed Ubuntu servers disable root login by default, use DHCP for network interfaces, and prohibit remote root access via SSH. This article starts from scratch and walks through these three basic initial configuration tasks step by step, helping you quickly get a server environment that can be managed remotely.
⚠️Safety Tips: Allowing remote root login increases the risk of brute-force attacks. Security hardening recommendations for production environments are provided at the end of this article; please be sure to assess whether to adopt them based on your actual scenario.
1. Install the necessary dependencies
A freshly installed Ubuntu 20.04/22.04 comes with only a minimal toolset by default. It is recommended to first update the software sources and install commonly used tools:
bash
# Update the package list
sudo apt update

# Upgrade installed packages (optional)
sudo apt upgrade -y

# Install commonly used basic tools
sudo apt install -y vim curl wget net-tools git htop
Description of each tool:
| tool | Purpose |
|---|---|
vim | Text editor (than the default vi More user-friendly) |
curl / wget | Network Requests and File Downloads |
net-tools | Provide ifconfig,netstat and other network diagnostic commands |
git | Version control tool |
htop | Interactive process viewer (than top more intuitive) |
💡Prompt: If you prefer nano, can vim Replace with nano. Used in subsequent steps vim The places can be replaced in the same way.
2. Enable the root account and set a password
By default, the Ubuntu root account is locked. You need to set a password first to enable it.
bash
# Set the root user password (you will be prompted to enter the new password twice)
sudo passwd root
3. Switch to the Root account (optional verification)
After setting the password, you can switch to the root account to test whether it was successful:
bash
su -4. Configure a static IP (optional, suitable for server environments)
Edit the netplan configuration file:
bash
sudo vim /etc/netplan/00-installer-config.yamlExample configuration (modify according to the actual NIC name and network environment):
yaml
network:
  version: 2
  ethernets:
    ens160:                 # Network interface name, possibly ens33, eth0, etc.
      dhcp4: true
      addresses:
        - 192.168.0.120/24
      gateway4: 192.168.0.1
      nameservers:
        addresses:
          - 114.114.114.114
          - 8.8.8.8
yaml
network:
  version: 2
  ethernets:
    ens160:
      dhcp4: false
      addresses:
        - 192.168.0.120/24
      routes:
        - to: default
          via: 192.168.0.1
      nameservers:
        addresses:
          - 114.114.114.114
          - 8.8.8.8
Application Configuration:
bash
sudo netplan apply5. Configure SSH to allow Root remote login
Edit SSH configuration file:
bash
sudo vim /etc/ssh/sshd_configFind the following line (possibly PermitRootLogin prohibit-password or PermitRootLogin no):
ini
# PermitRootLogin prohibit-passwordChange to:
ini
PermitRootLogin yesRestart the SSH service to make the configuration take effect:
bash
sudo systemctl restart sshd6. Verify root remote login
Now, you can use the root user and the previously set password to remotely log in to the server via SSH:
bash
ssh root@your-server-IP7. Configure the command prompt color for the Root account (optional)
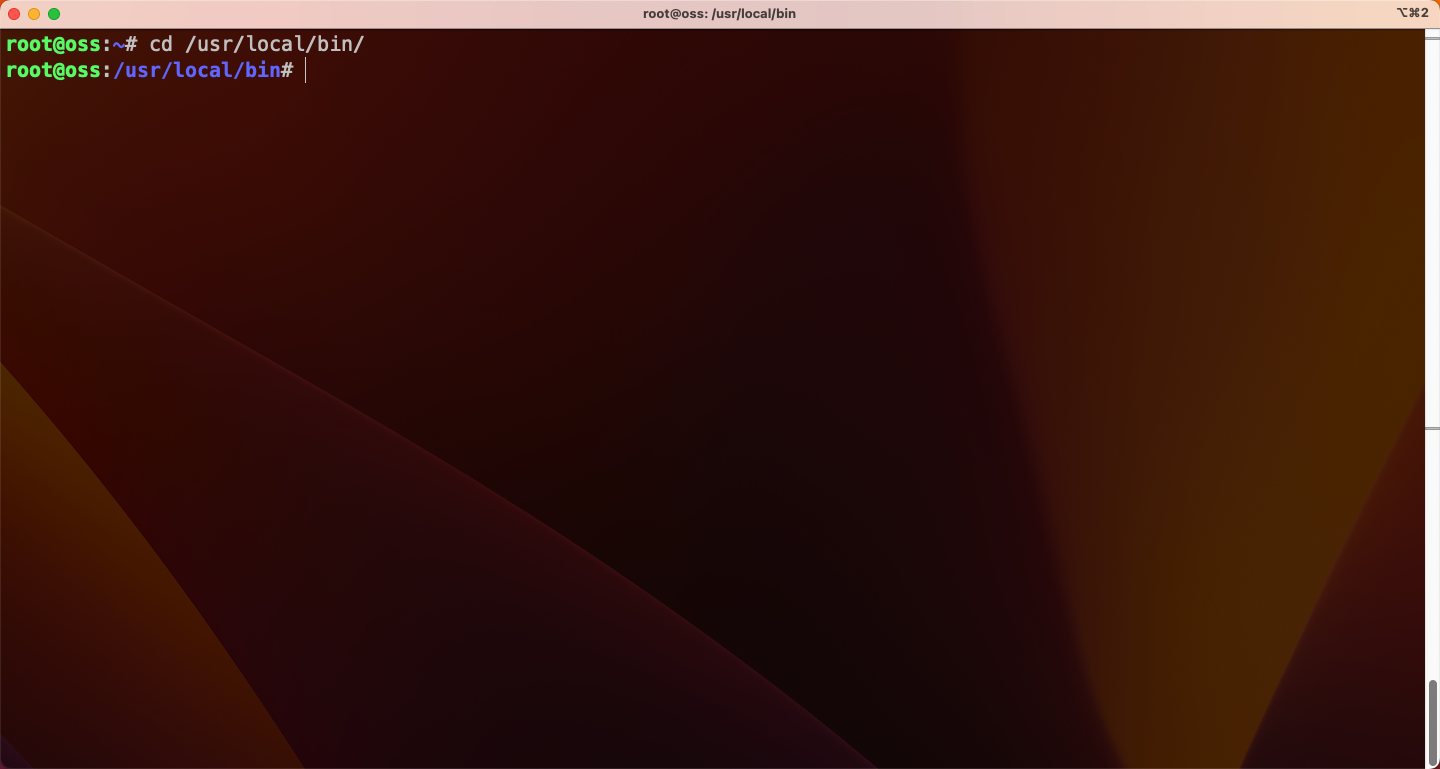
After switching to the root account, the default command prompt may have no color, making it inconvenient to distinguish commands from output. You can modify ~/.bashrc to enable color display.
bash
# Edit the root user's .bashrc file
vim /root/.bashrc
Find the following line:
bash
# force_color_prompt=yesthe comment symbol # Remove, change to:
bash
force_color_prompt=yesSave and exit, then run the following command to make the configuration take effect:
bash
source /root/.bashrcAfter the configuration is complete, the root user's command prompt will be displayed in color, improving the terminal operating experience.
Safety recommendations
Allowing the root user to log in remotely poses a security risk,It is recommended to enable it only in a trusted intranet environment or during temporary maintenance. Production environment recommendations:
Use a regular user +
sudoPrivilege escalationConfigure SSH key login and disable password login
Change the default SSH port (22 → another port)
Install and use
fail2banProtection against brute force attacks
Okay, based on your complete sitemap, I will now recommend the most relevant further reading for this article titled "Ubuntu 20.04/22.04 Server Initialization."
Further Reading
If you are doing Ubuntu server initialization or related operations and maintenance work, the following articles may be helpful to you:
Ubuntu 22.04 Static IP Configuration Reset After Reboot? One Trick to Fix It Completely—— After configuring a static IP, do you find the configuration lost after a reboot? This article provides an in-depth analysis of the root cause of cloud-init overwriting the Netplan configuration and offers a once-and-for-all solution.
RockyLinux 96 Static IP Configuration Explained in Detail—— If you need to configure a static IP on a RockyLinux 96 system, this article provides complete configuration steps based on traditional network-scripts, which can be compared with Ubuntu's Netplan solution for learning.
Guide to Configuring a Static IP in NAT Mode for Ubuntu Server in VMware—— If you deploy Ubuntu in a VMware virtual machine, this article provides a complete troubleshooting guide for static IP configuration specifically for NAT network mode, covering common issues such as network interface name identification and DNS configuration.
Windows 11 Static IP Configuration Guide—— If you need to configure a static IP on a Windows client, this article provides detailed step-by-step instructions for both the graphical interface and the command line, suitable for reference in cross-platform network environments.
ESXi 8.0 DNS Configuration Guide—— If your Ubuntu server runs on an ESXi virtualization platform, improper DNS configuration on the host may also cause abnormal network resolution in virtual machines. This article helps you troubleshoot network issues from the virtualization layer.