English
Building a Homelab from Scratch (Part 1): Creating an ESXi 8.0 Bootable USB Drive in macOS

Preface
Recently, I started building my own Homelab server to prepare for distributed development and K8s cluster experiments. Before the hardware (20 cores/40 threads, 64GB ECC memory, 2TB NVMe enterprise drive......) arrives, I decided to first create an ESXi 8.0 bootable USB drive on macOS. This article will document the entire process to help you avoid common pitfalls.
Preparation
Before you begin, you need to prepare the following two things:
a USB flash drive: Capacity recommendation ≥ 4GB(I am using a 64GB USB flash drive).Attention: The creation process will erase all data on the USB drive, so please back up your data in advance.
ESXi installation image: Download from the Broadcom Support Portal VMware vSphere Hypervisor (ESXi) 8.0U3e official ISO file.
Step 1: Download the ESXi 8.0 ISO image
Since Broadcom acquired VMware, the download entry point has changed. Below is the complete path to obtain the free version ISO:
Log in to Broadcom Support Portal().
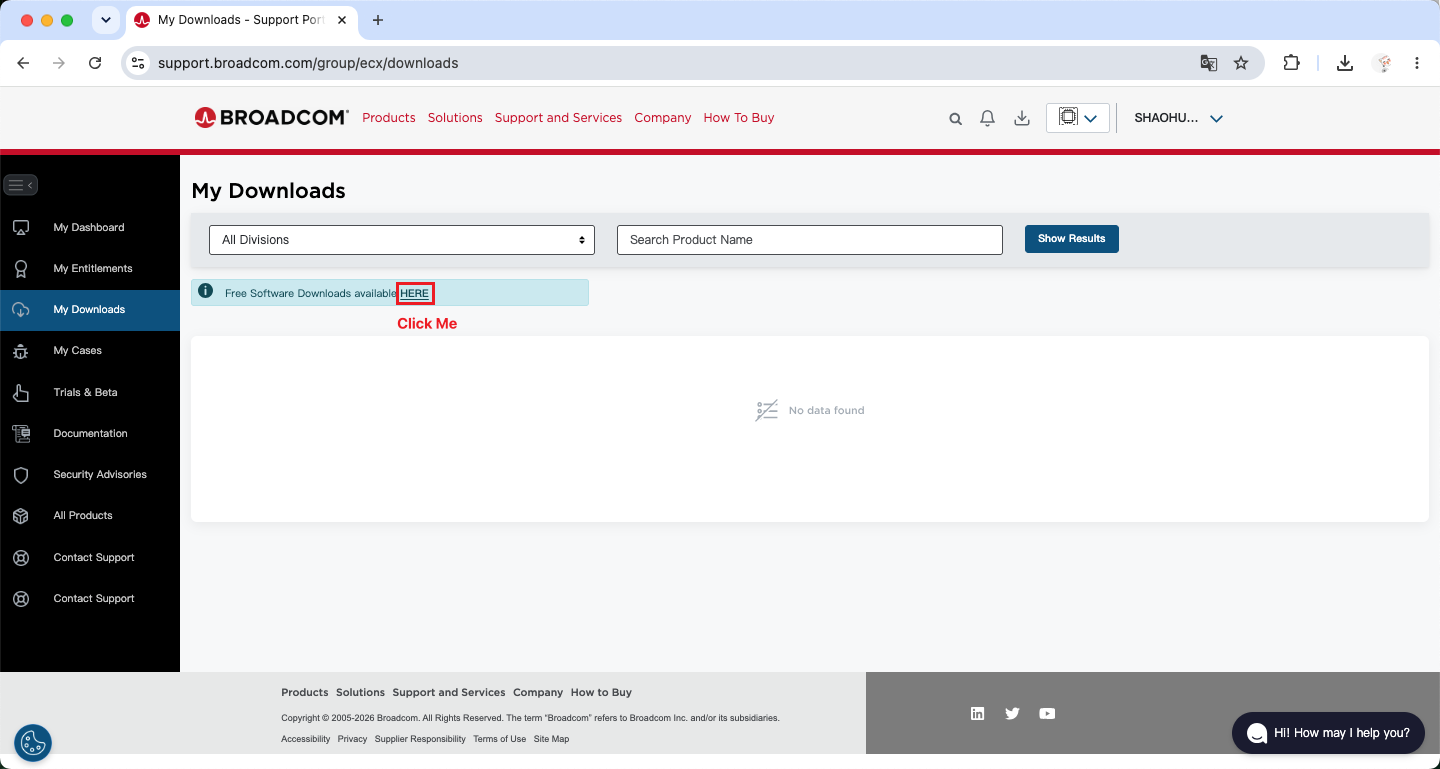
On the "My Downloads" page, find and click the "Free Software Downloads available HERE" link to go to the free software download section:
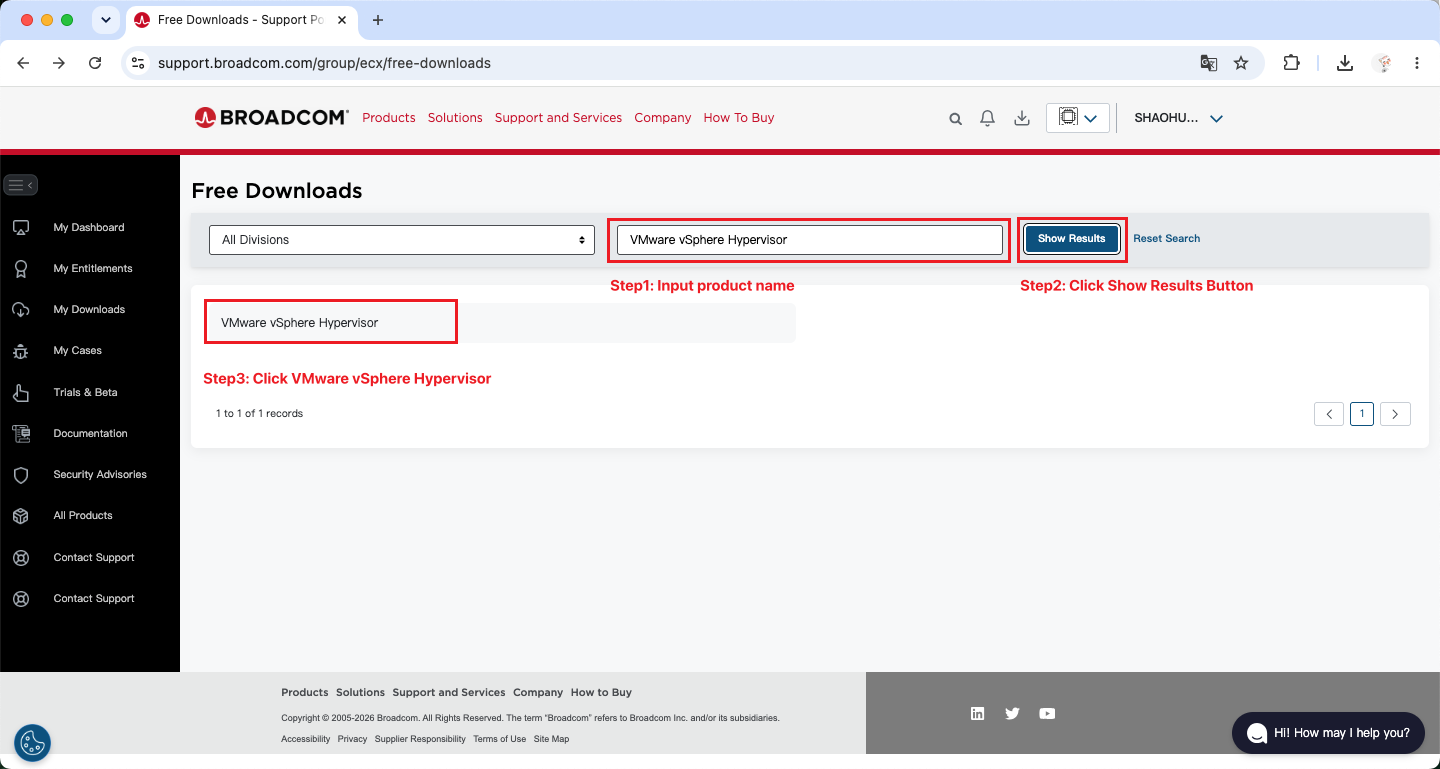
In the "Search Product Name" search box, enter "VMware vSphere Hypervisor". In the search results list, click "VMware vSphere Hypervisor" to enter the detailed download page for this product.
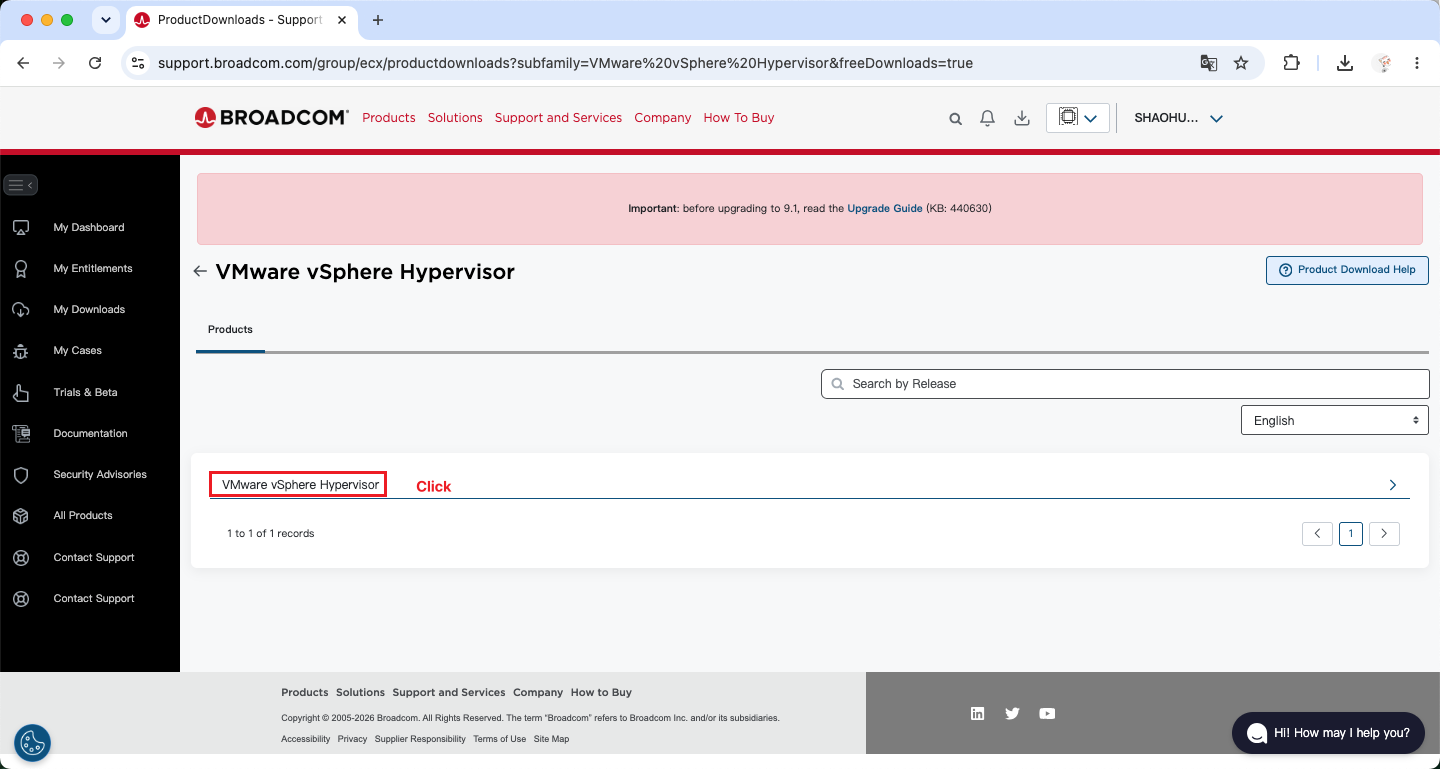
After entering the product details page, the "Release" version list will be displayed at the bottom of the page:
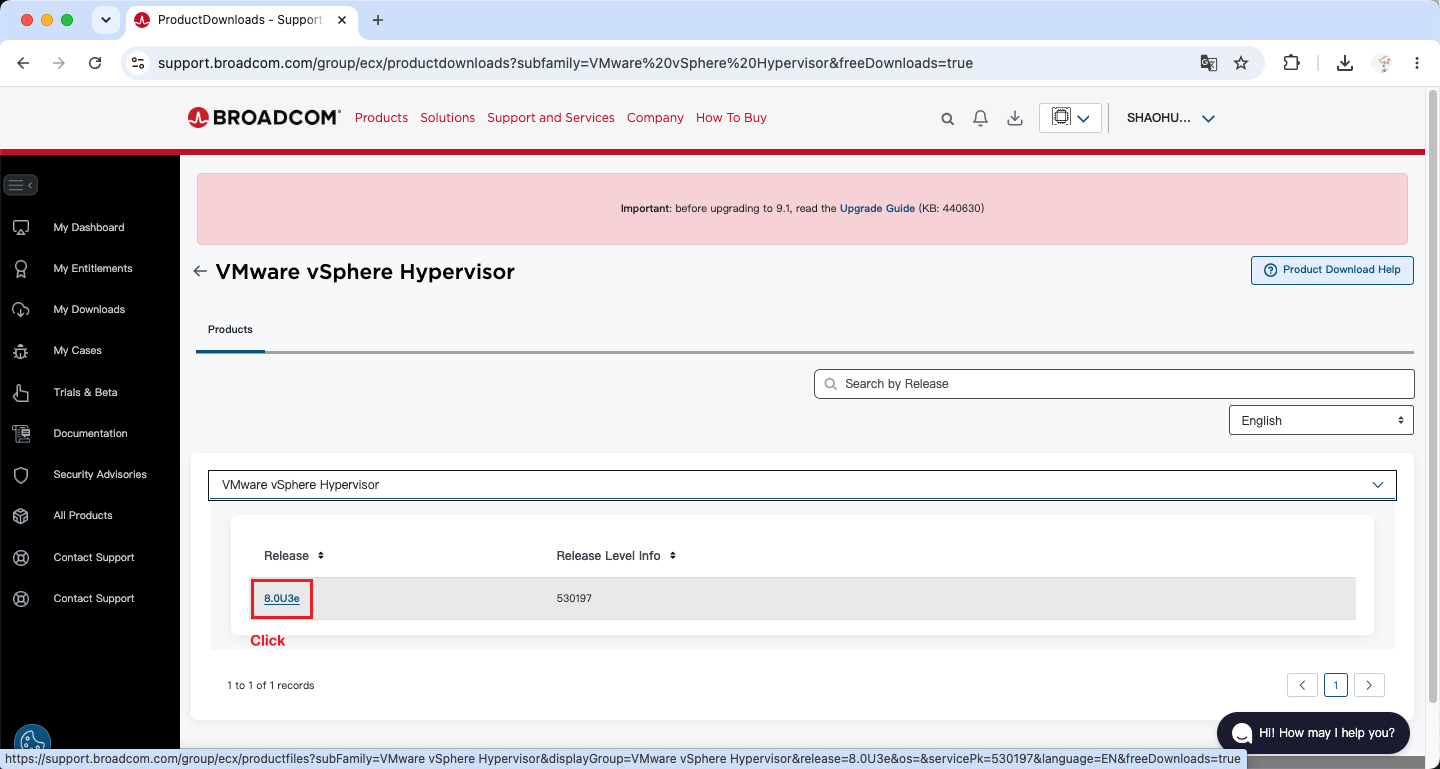
Click "8.0U3e" to go to the download page for the VMware vSphere Hypervisor 8.0U3e version.
Click "HTTPS Download" to start downloading.
If you have never downloaded the free version of ESXi, the system will ask you to fill in your personal address information. After completing it, submit it to continue the download.
If you have filled it out before, the download will start directly without prompting again.
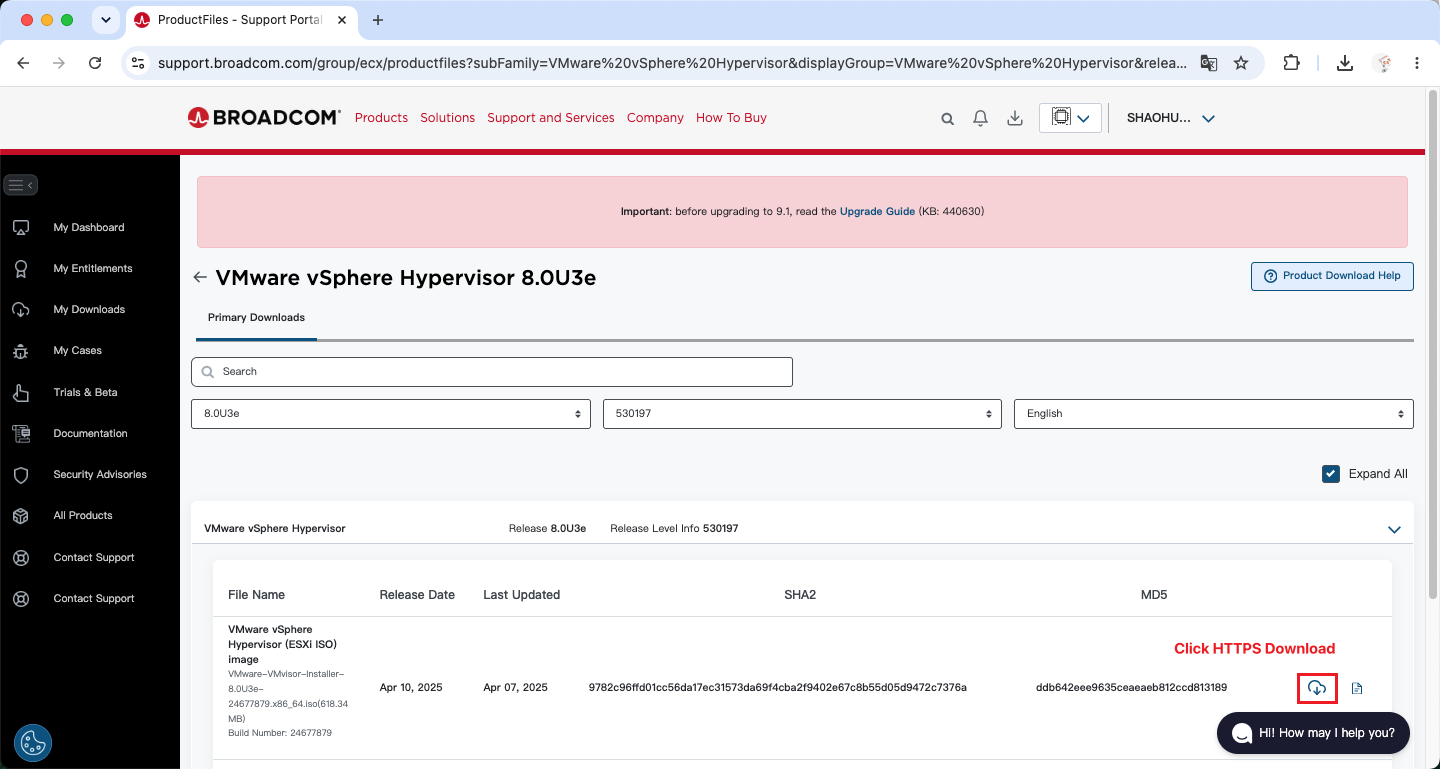
The final downloaded file is: VMware-VMvisor-Installer-8.0U3e-24677879.x86_64.iso
Prompt: The free version of ESXi has enough features for Homelab use, and no paid license is required.
Step 2: Use balenaEtcher to flash the image
On macOS, I recommend using balenaEtcher, it has an intuitive interface and built-in verification, making it very suitable for creating system boot disks.
Download and install balenaEtcher(free software).
Insert the USB flash drive, and open balenaEtcher.
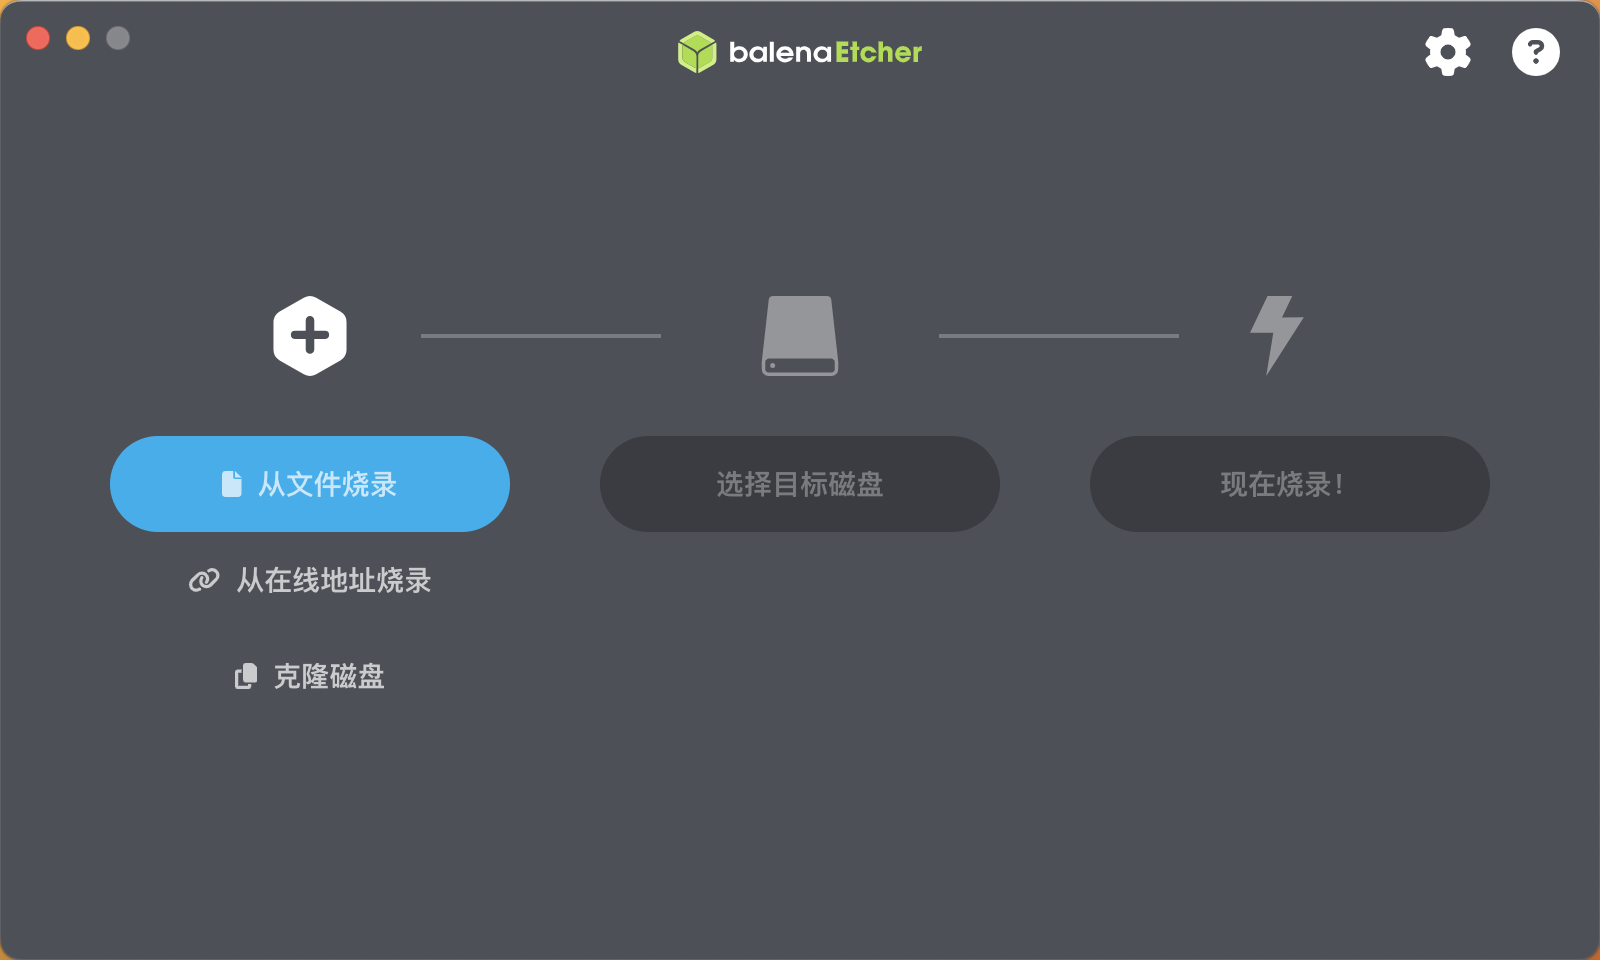
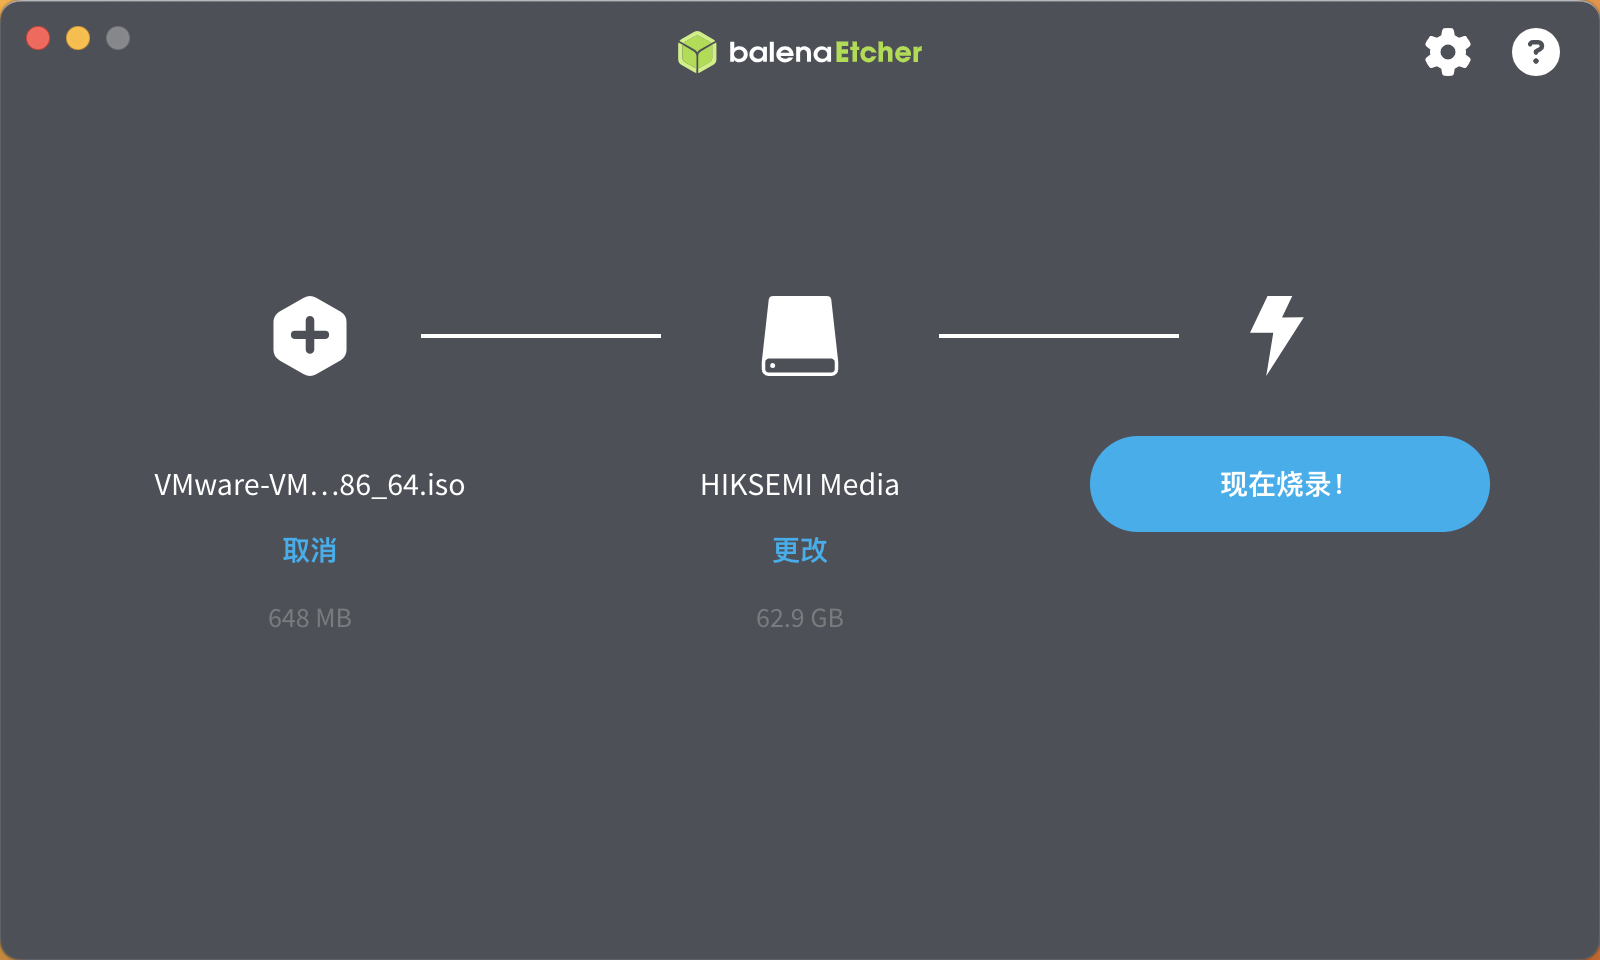
Select image: Click "Burn from file" and select the ESXi ISO file you downloaded.
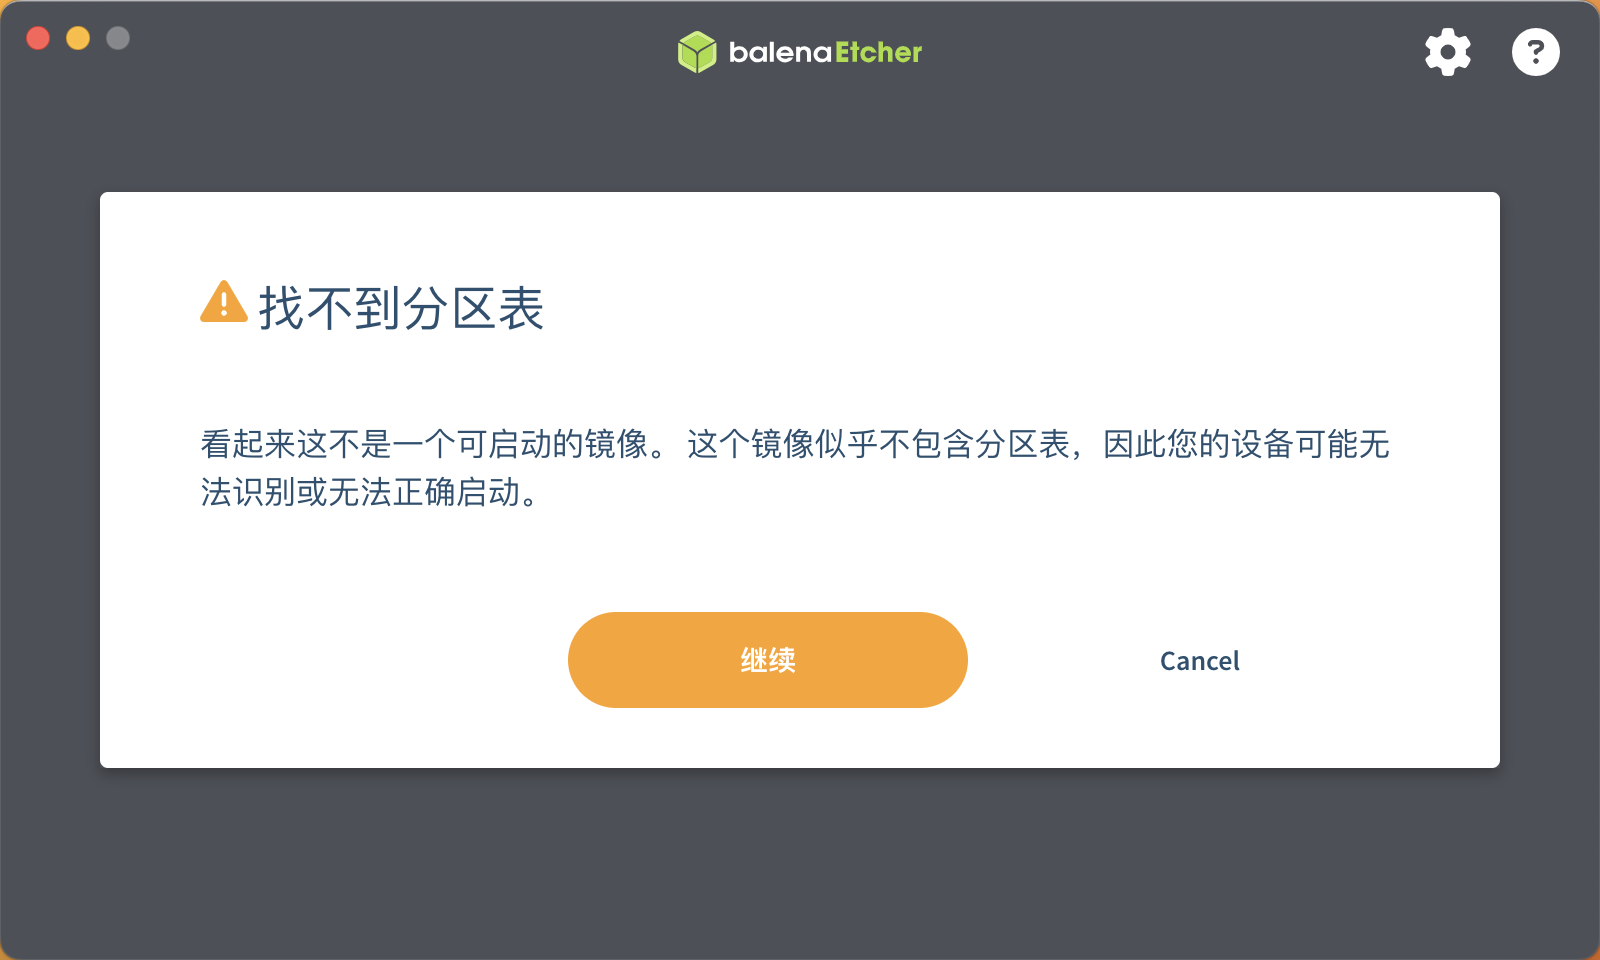
💡 Note
If a pop-up appears during flashing Partition table not found Warning,Please feel free to click "Continue" This is due to the special structure of the ESXi ISO image. It is not an error; the write will complete normally.
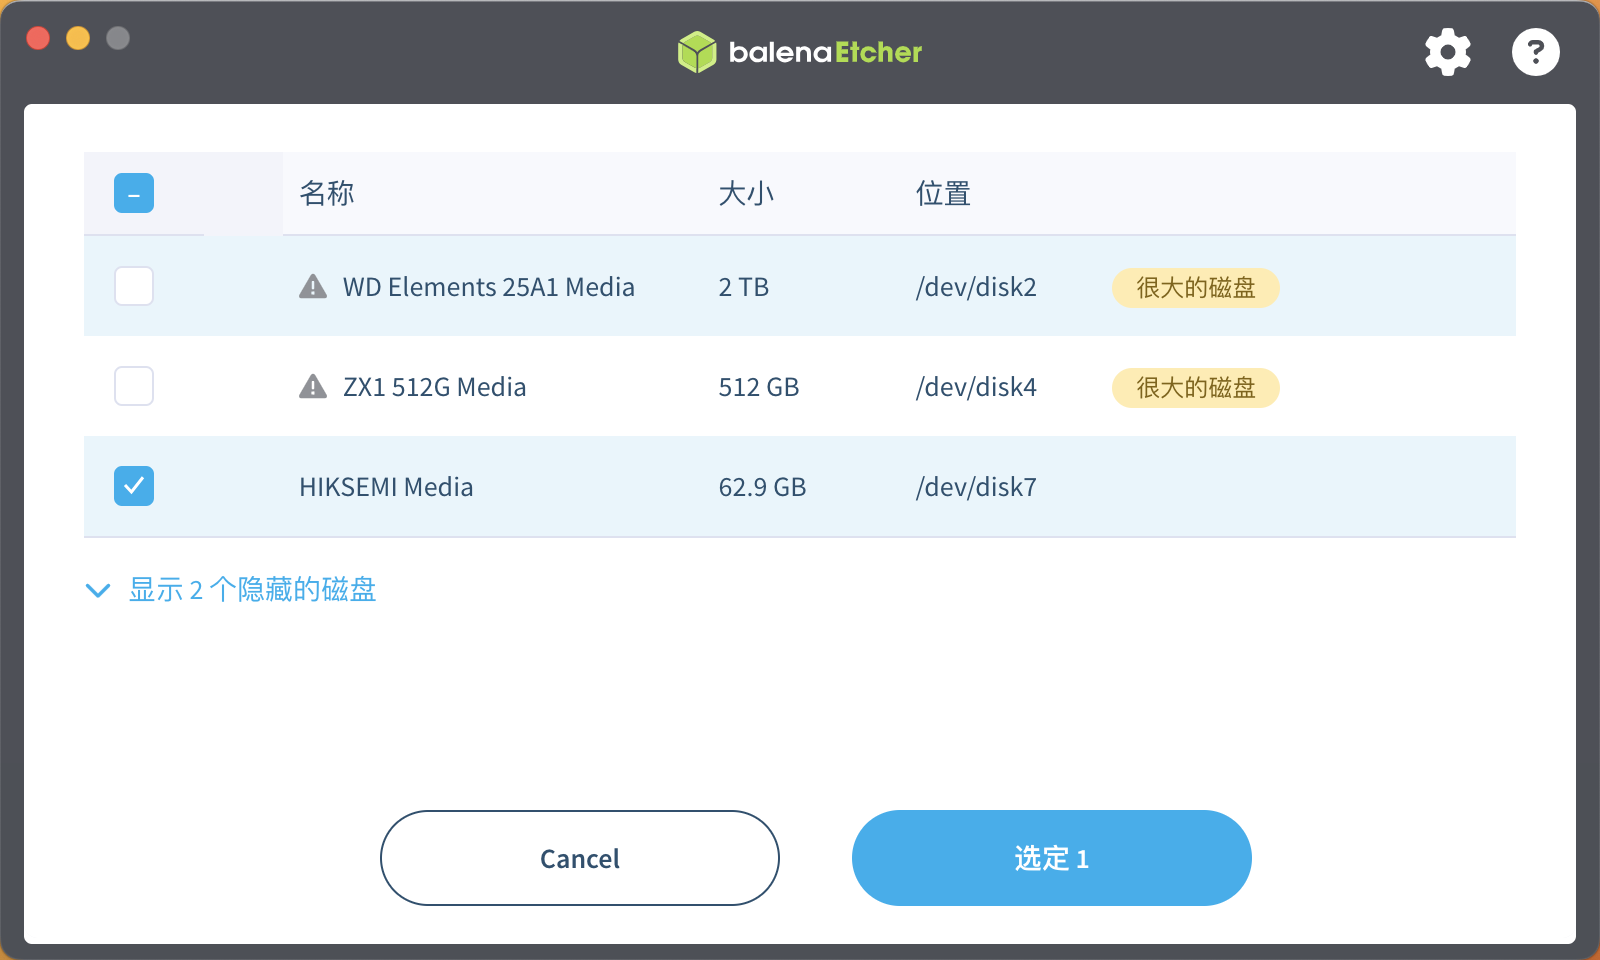
- Select target disk: Click "Select target disk",Be sure to carefully confirm. Make sure your USB drive is selected (not the computer's internal hard drive).
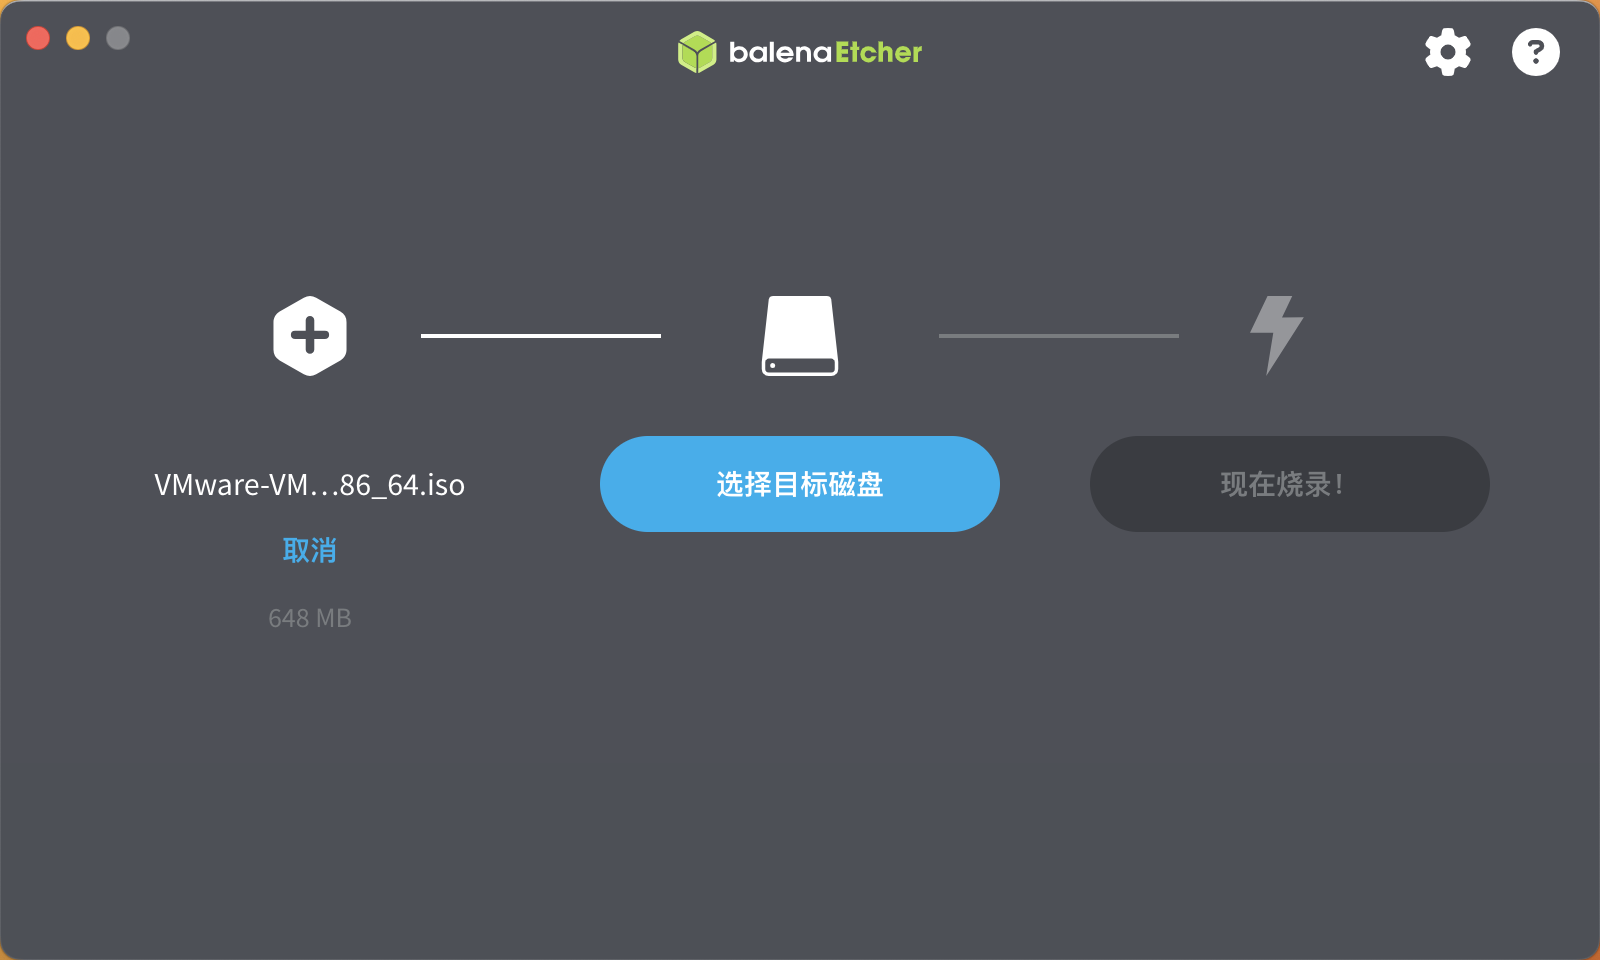
I am using a 64GB HIKSEMI USB flash drive, click "Select".
- Start burning: Click "Burn Now!" and macOS will prompt you to enter your password to authorize writing.
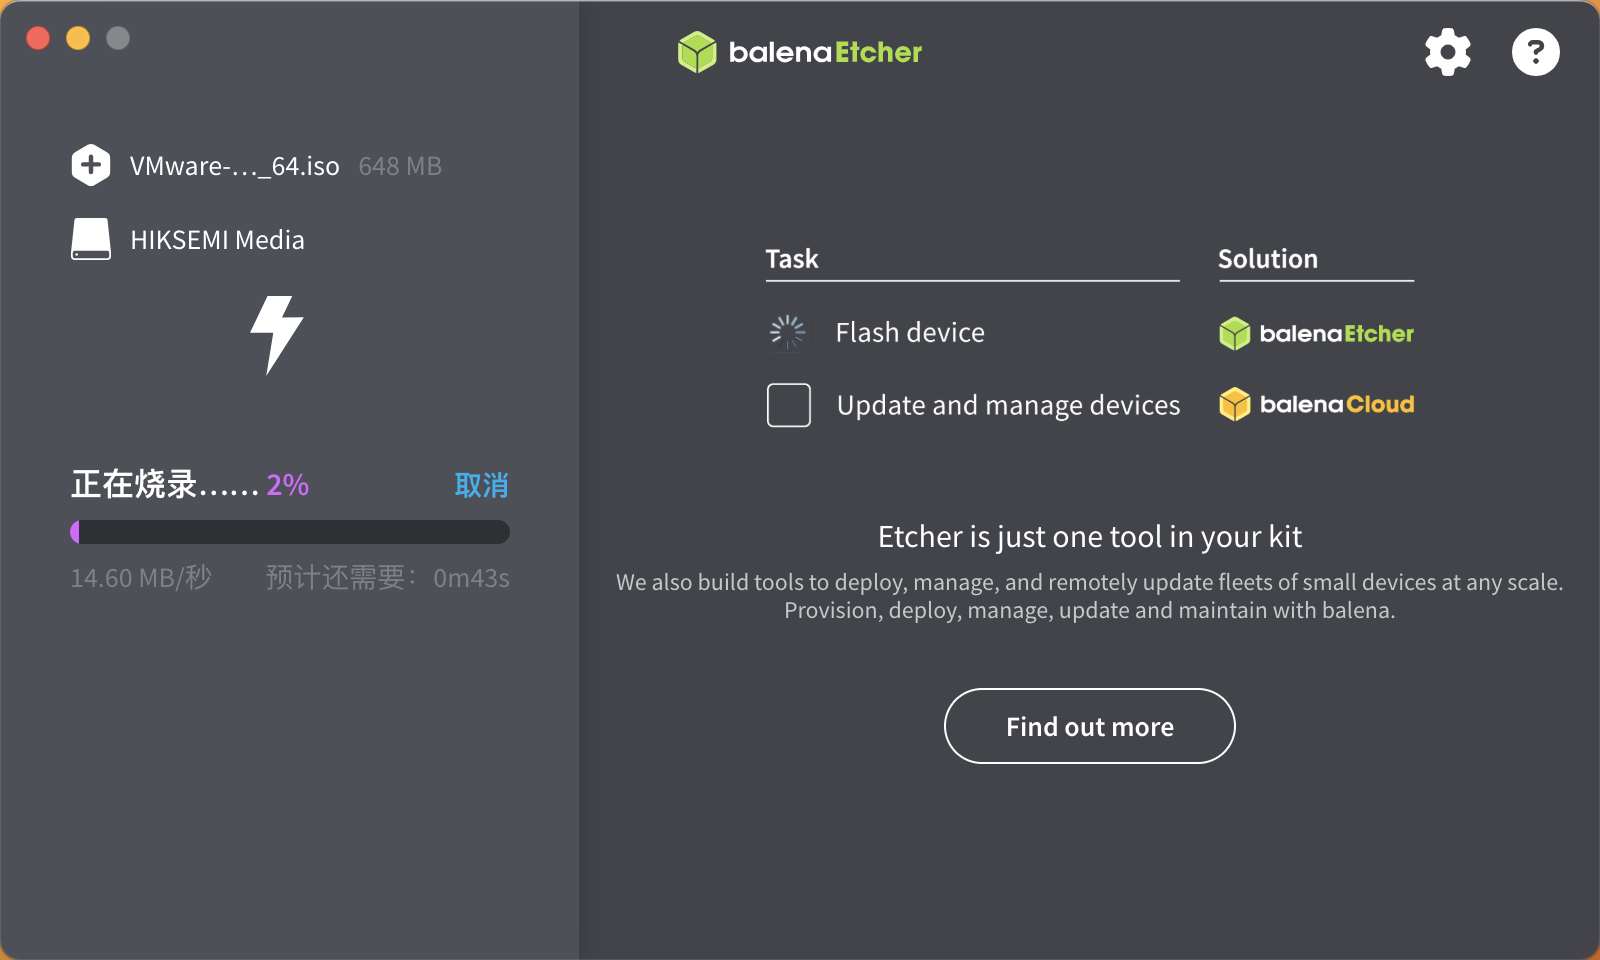
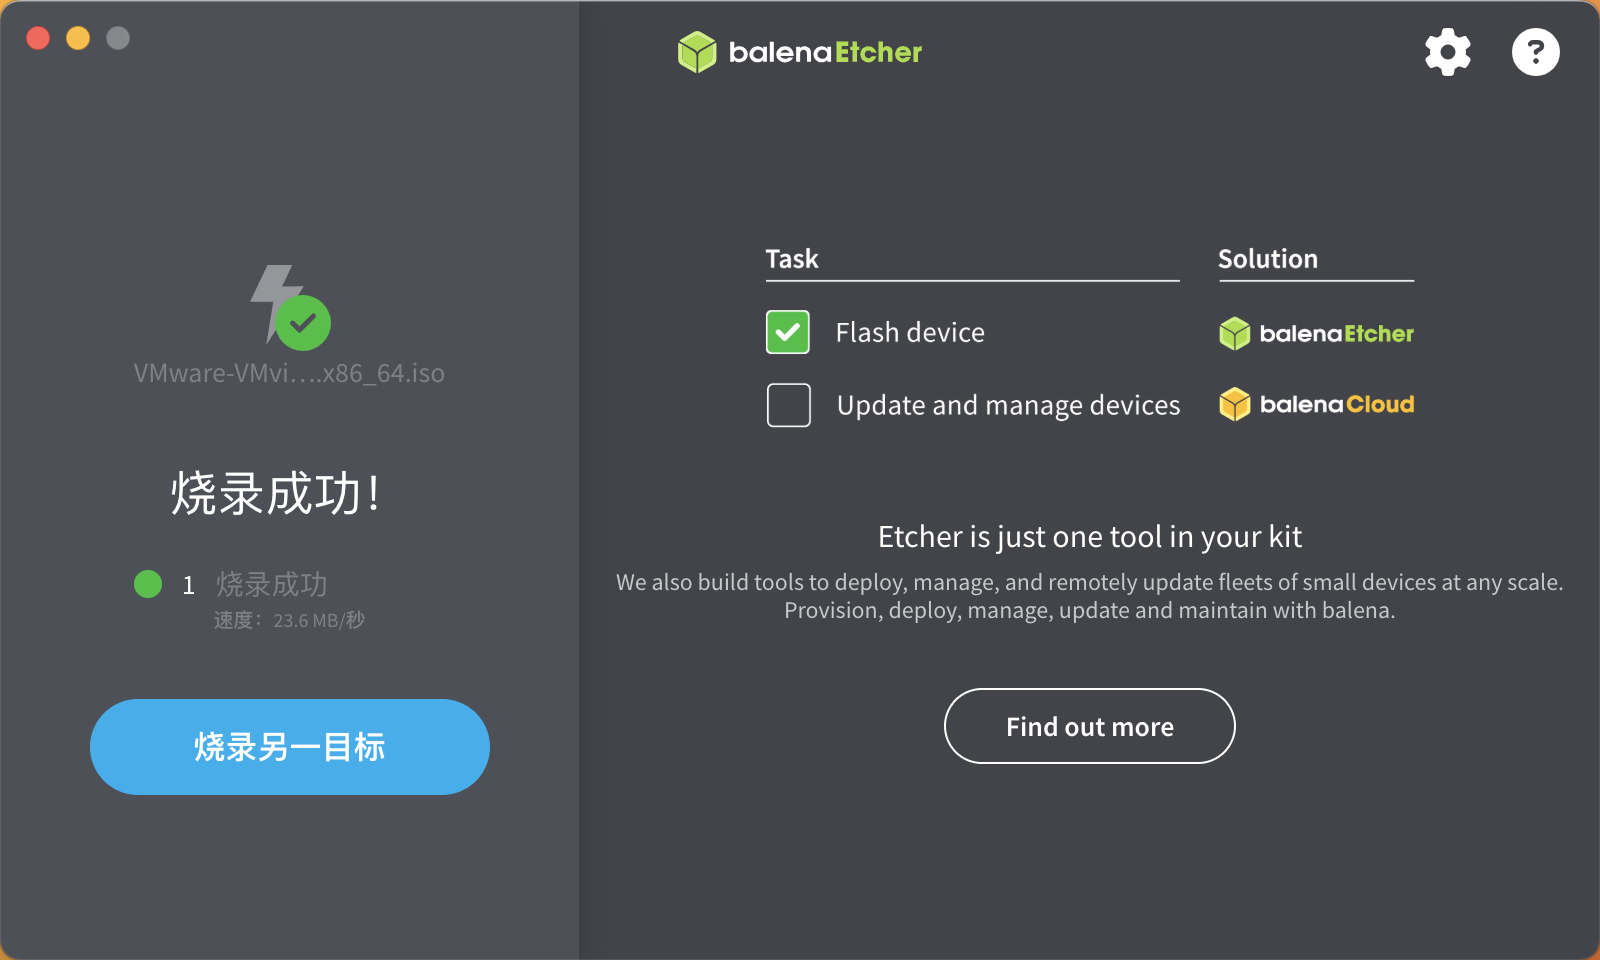
- Flashing completed: Wait for the progress bar to finish, balenaEtcher will automatically perform write verification. When you see the green Programming successful! When you see the interface, it means your ESXi 8.0 boot USB drive has been created successfully.
Summary
At this point, you have successfully created an ESXi 8.0 bootable USB drive on macOS using balenaEtcher. The whole process is actually not complicated, but there are a few key points worth emphasizing again:
Download channels: After Broadcom’s acquisition, the download entry for the free version of ESXi has changed. Be sure to obtain it from the official free download section following the path above, and avoid downloading unofficial or outdated images from third-party download sites.
Partition table warning: what balenaEtcher pops up during flashing Partition table not found The warning is normal behavior for the ESXi ISO image,Not an error, feel free to click "Continue". This is where beginners are most likely to get stuck.
USB flash drive selection: Before flashing, double-check and triple-check that the target disk is a USB drive rather than an internal hard drive, to avoid accidental writes causing data loss. It is recommended to use a USB drive with a capacity of ≥ 4GB; older USB 2.0 drives will also work normally, but USB 3.0 will flash much faster.
verification mechanism The built-in post-flash verification feature of balenaEtcher is very useful. It ensures that the written data matches the image exactly, preventing boot failures caused by incomplete writes.
After creating the boot disk, the next step is to insert the server hardware and start the installation by booting from the USB drive. In the next article, we will document in detail ESXi 8.0 installation process and basic network configuration, which will cover hands-on tasks including pre-configuring hardware RAID, selecting disk partitions during installation, setting the management IP, and logging in through the vSphere Host Client web interface for the first time.
It should be noted in advance that this series uses the free version of VMware vSphere Hypervisor, so enterprise-level features such as vCenter centralized management, vSAN distributed storage, and distributed virtual switches are not covered in this series. However, in a single physical machine scenario, the features provided by the free version are sufficient to support the daily use of a Homelab.
Related documents
First in the series:Homelab: From Zero to One Practical Series- Entry to this series' topics
Hardware Assembly and Troubleshooting:Homelab Unexpected Power Loss Repair Record: From Midnight Shutdown to vCenter Rebirth- When the server goes on strike, how to regain control step by step
Advanced Remote Access:The Most Elegant Homelab Remote Access Solution: Cloudflare Tunnel Zero Trust in Practice- No public IP required, secure access to internal network services
Ultimate Architecture:Homelab Ultimate Remote Access Architecture: Cloudflare Tunnel + Nginx Unified Access Layer- Unified access layer, addressing subdomain sprawl and SSH tunneling challenges