
English
Fix Unable to connect to the server: EOF when Docker Desktop retrieves node status
Preface
When starting a single-node Kubernetes environment using Docker on macOS, when obtaining node status via kubectl, the response Unable to connect to the server: EOF Huh! Docker Desktop shows that the Kubernetes service is starting and there are no issues, but kubectl in the terminal cannot interact with kube-apiserver!
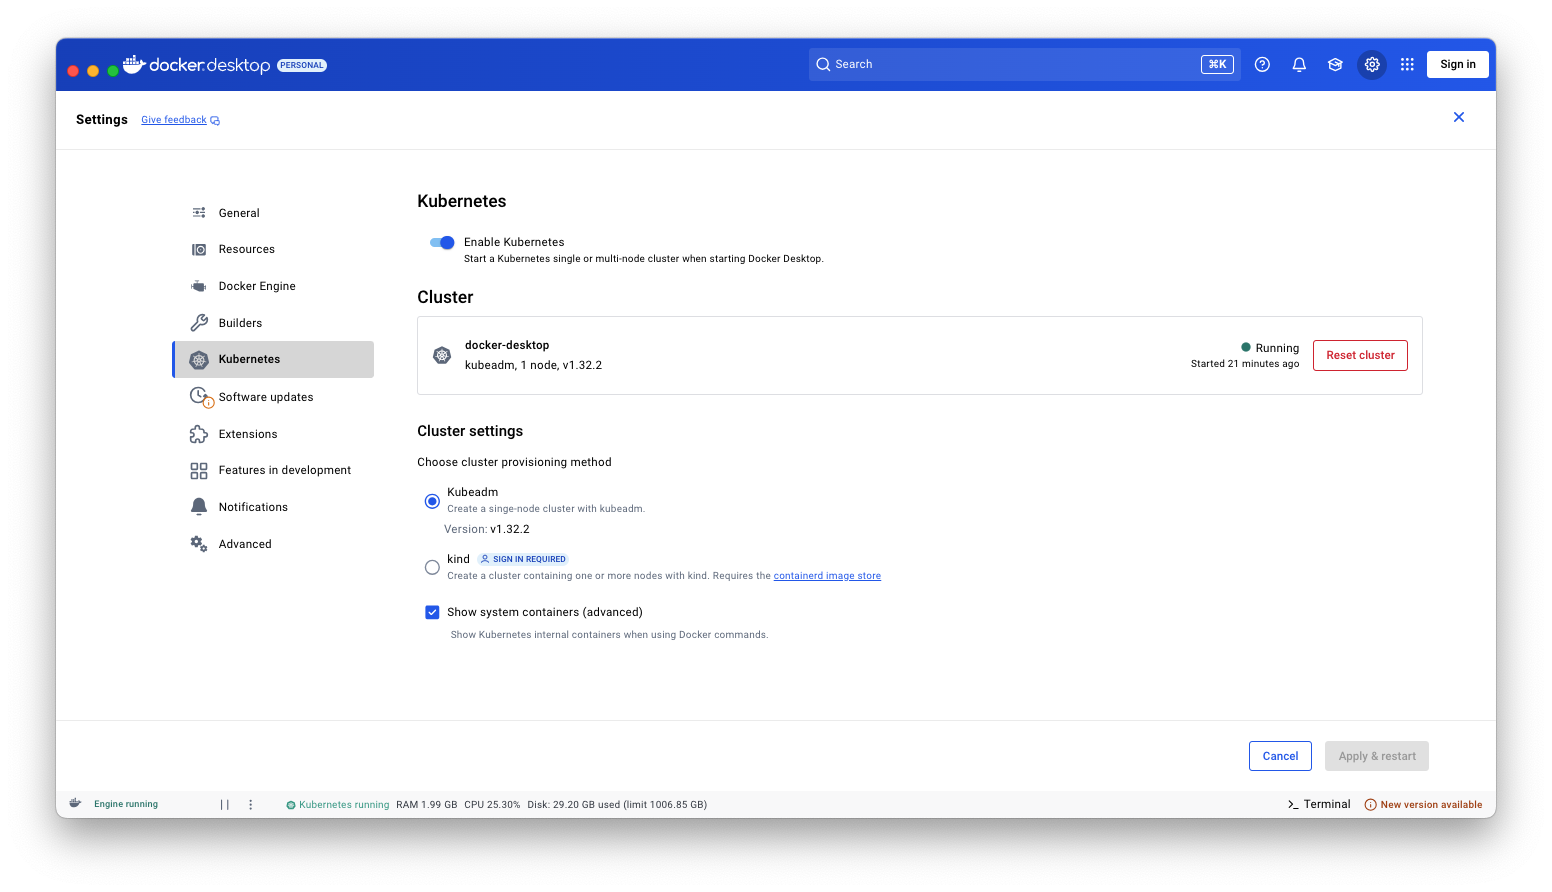
See, Docker Kubernetes is indeed working properly!
Problem manifestations
By executing kubectl get nodes Unable to correctly display Kubernetes node status, and the following error message is returned
txt
Unable to connect to the server: EOFProblem Analysis
Step 1: View Kubernetes status configuration information
View the current macOS system Kubernetes node configuration information by running the following command.
shell
kubectl config viewThe specific configuration is as follows.
yaml
apiVersion: v1
clusters:
- cluster:
    certificate-authority-data: DATA+OMITTED
    server: https://kubernetes.docker.internal:6443
  name: docker-desktop
contexts:
- context:
    cluster: docker-desktop
    user: docker-desktop
  name: docker-desktop
current-context: docker-desktop
kind: Config
preferences: {}
users:
- name: docker-desktop
  user:
    client-certificate-data: DATA+OMITTED
    client-key-data: DATA+OMITTED
From the configuration information above, it can be seen that kube-apiserver The access address is https://kubernetes.docker.internal:6443 So when Docker Desktop enables the Kubernetes service, it will definitely ... to /etc/hosts Configuration file write mapping
Step 2: View the /etc/hosts configuration file
txt
# Added by Docker Desktop
# To allow the same kube context to work on the host and the container:
127.0.0.1 	kubernetes.docker.internal
# End of section
Step 3: Disable the proxy and test whether it works normally
shell
kubectl get nodeOh! After turning off the proxy, it can respond normally with Kubernetes node status information.
txt
NAME             STATUS   ROLES           AGE   VERSION
docker-desktop   Ready    control-plane   58m   v1.32.2
Step 4: Add the no_proxy environment variable
To add it temporarily, you only need to run an export command in the current terminal.
shell
export no_proxy=kubernetes.docker.internalOf course, as a developer, your proxy is basically always on, edit ~/.zshrc or ~/.bash_profile Add the following configuration to export environment variables
shell
export no_proxy=kubernetes.docker.internalSummary
Proxies are a mixed bag—one wrong move and you fall into a trap!